Peanut butter is a staple in many homes. I must admit, I love a good PB&J. Sandwiches aren’t the only thing it’s great in. Peanut butter is used in everything from cookies to Thai dishes. That means we always have it on hand. We got to wondering if we could make it better ourselves. The outcome of that is the recipe in this post.
Why Make It?
People post recipes that usually lead with claims like lower cost, more natural ingredients, fewer preservatives, or other health perks. We’re skipping that because our focus lies elsewhere. What we wanted was to be able to create things from scratch and tailor them to what we liked. As a result, like our bread recipe, we wanted a place to put the instructions so we could find them. That is what this blog post is.
Our Peanut Butter Can Be Any Nut Butter
We may be talking about peanut butter, but technically, you can make your version with different nuts. It is the same process. We don’t only use peanuts in ours because we want a different depth of flavor. As an aside, the US does have standards for when to call something a spread or a butter. The tl;dr is here, and the more extended version is here. After making and eating a lot of nut butters, I am not a fan of these categorizations.
Why aren’t we fans? Because we break nut butters into three types that don’t come from factories.
- First, you’ll find the basic grind at many local supermarkets. It’s usually just nuts, coarse, and in our experience, nearly impossible to spread.
- Then there’s the ultra-smooth kind—more like a sauce or jelly—that comes from high-oil nuts (or added oil) and long processing times.
- We want something in between: butter that spreads easily but still holds some firmness and texture—not as firm or creamy as Jif or Skippy. We appreciate those for what they are, but they lack the depth of flavor and homemade texture we’re after.
It’s About the Oil Content
The final texture of nut butters comes down to how long you process them and how much oil the nuts contain. Raw ingredients aren’t always consistent—peanuts, for example, vary greatly. There are several types of peanuts and different methods for roasting them. Since peanuts are a crop, their characteristics depend on where and how they grow. That means oil content and texture can differ from batch to batch.
Our recipe uses a standard roasted, non-salted supermarket bulk peanut. We also add a bit of pecans to add depth of flavor. Want less oil? Use a dry-roasted peanut with no salt added for your peanut butter. Want to roast your own? Maybe try Alton Brown’s idea in his recipe.
The important thing is that familiarity creates success. Once you have tried something and found something you like, realize that changing the nuts can impact how oily the peanut butter is, impacting the final consistency.
Texture is About Time
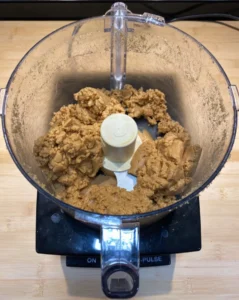
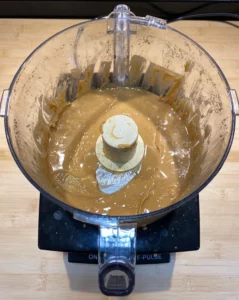
This will sound like a Captain Obvious comment, but the longer you process the peanuts, the smoother the result. What is not so obvious is that you raise the heat level as you process. If you want silky, you can process the peanuts until they release their oil and become liquified.
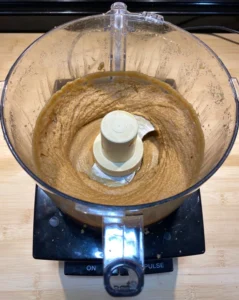
When you process under 10 minutes, you will not usually see the separation. Processing means pulsing your food processor for 1 minute, then letting it rest for 1 minute. Why do this? It’s about heat. You are slowly raising the temperature of the peanuts through friction. Based on our empirical evidence, once you hit 12-14 minutes of processing, your mix will liquify. For us, that isn’t simply about time; it happens at around 120℉-130℉.
Here is the progression over time of the peanut butter as it goes from thick to a creamy sauce.
Why is that important? If you want thick peanut butter at room temperature, you may not want to process it as long. If you want it to be thin and spreadable, you may need to keep it in the fridge to firm up. In the latter case, you don’t want to add more than a teaspoon of oil until you have completed processing to dial in the right consistency for your needs.
Hedging Your Bets
In terms of having it get too thin once it separates, you can hedge your bets and take out some insurance using a stabilizer like guar gum. Many people have issues with an additive that stabilizes or alters food chemically. Hear us out on this one first before saying ‘t’ain’t natural to be using that’
Guar gum, made from guar beans, is a natural thickener like corn starch or arrowroot powder. The key difference is that it thickens without heat, which makes it ideal for recipes that don’t involve cooking, like peanut butter or fermented hot sauces. You can read more about it here.
Some individuals are sensitive to guar gum just like those sensitive to soy, nuts, milk, whey, or other food intolerances. However, guar gum is also a common ingredient in the food world, so you are probably already consuming it if you have had something as familiar as a pint of Ben & Jerry’s (or others) Ice Cream. We aren’t picking on them, but we use them to show how common the usage is.
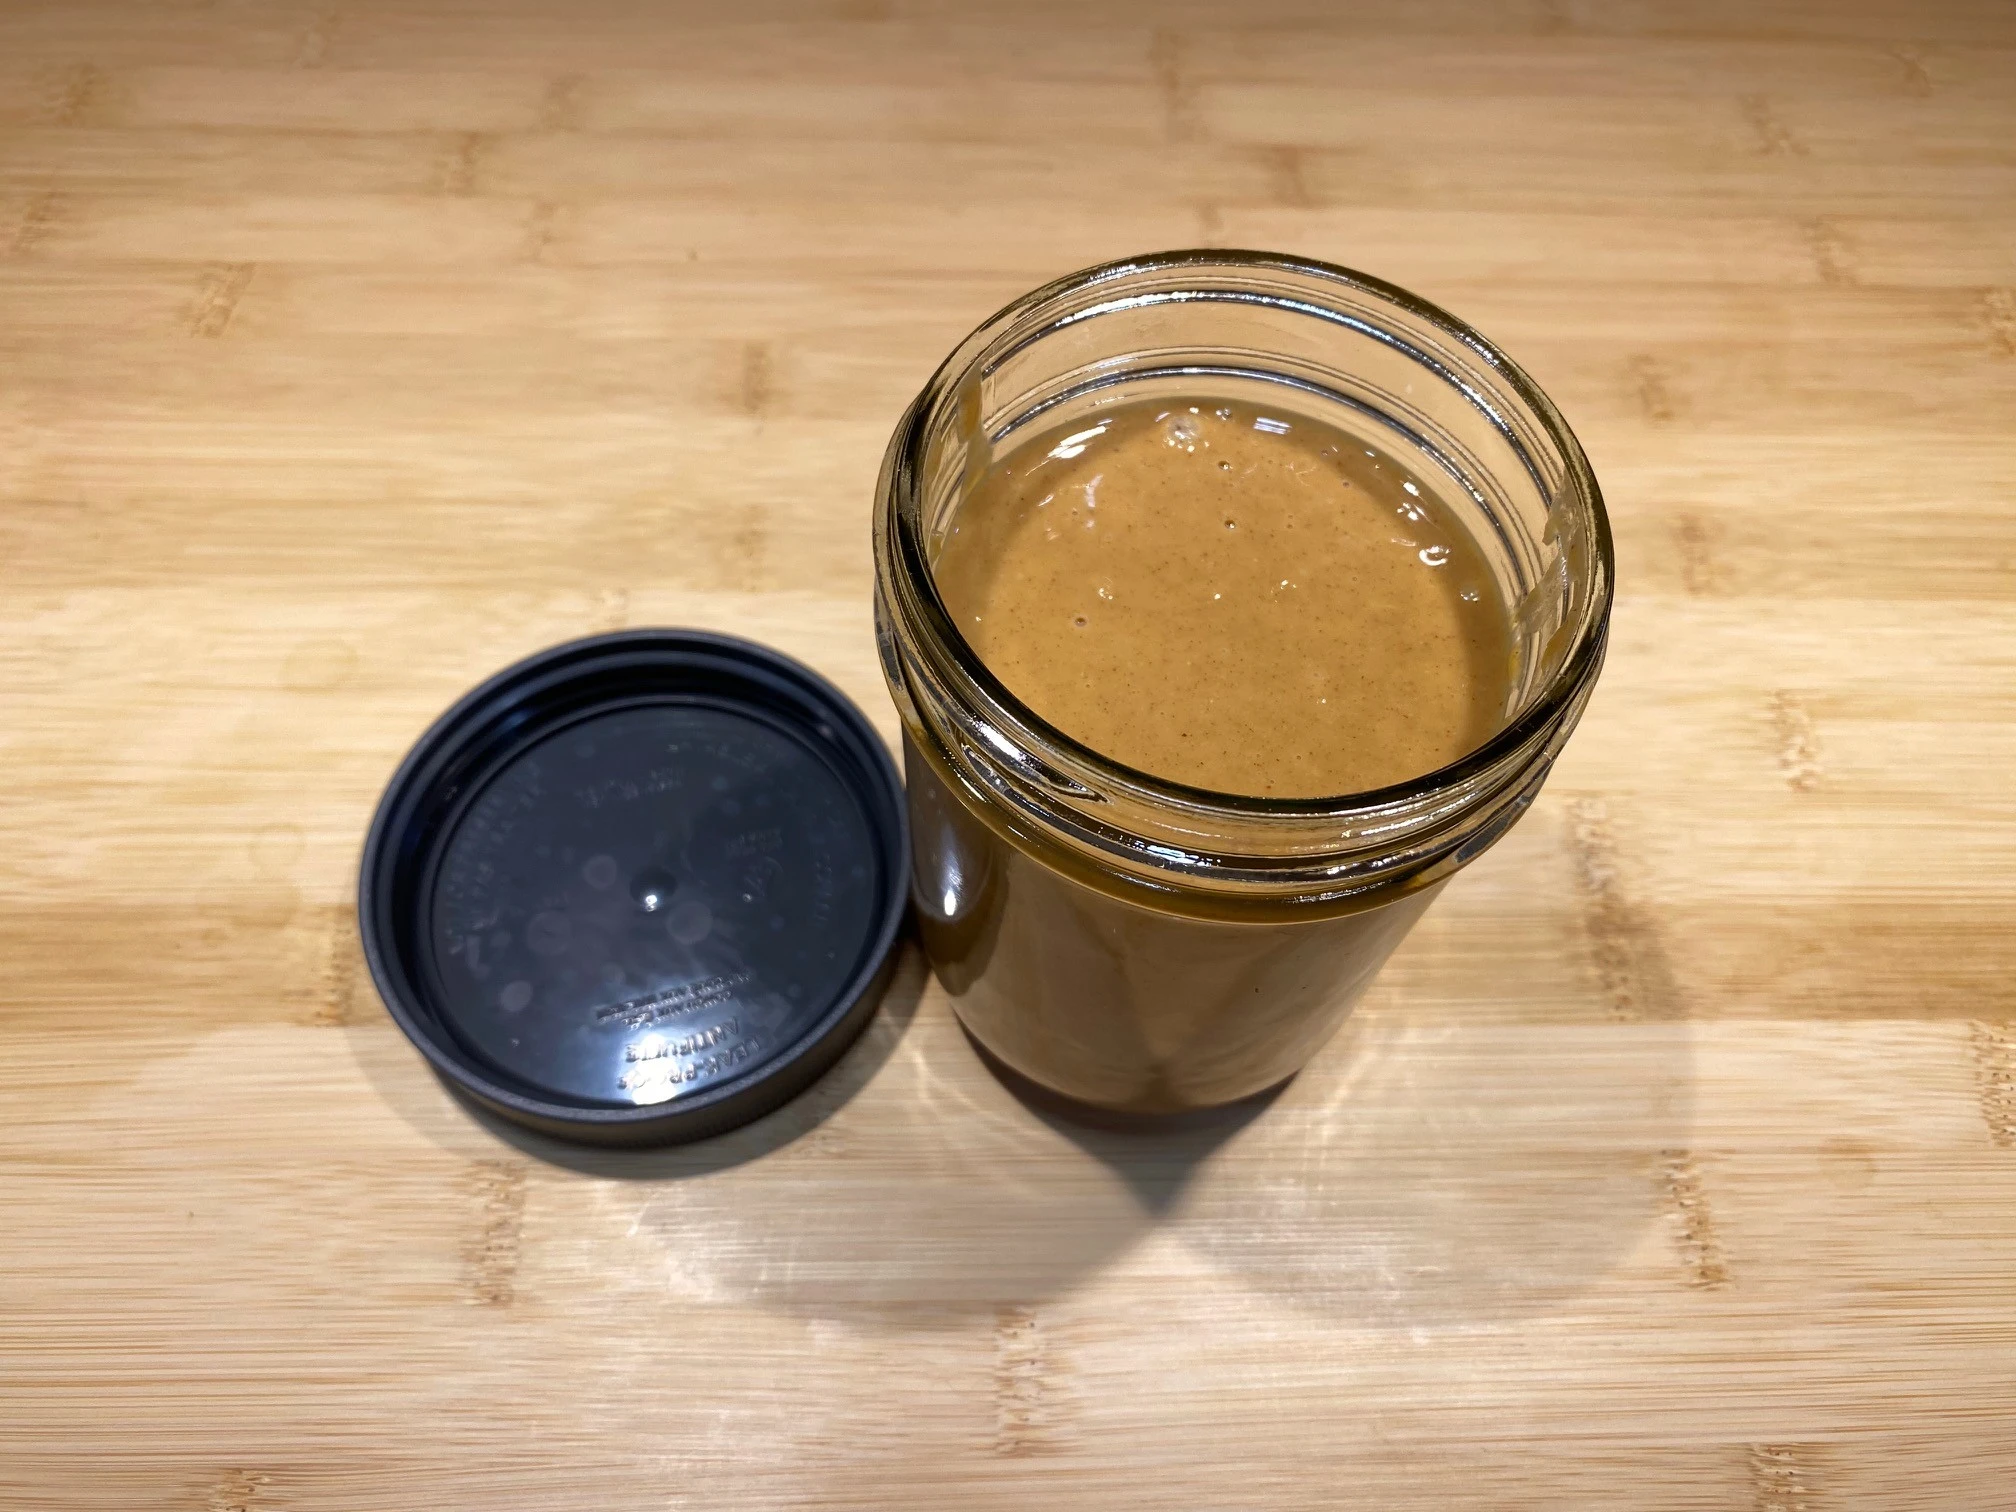
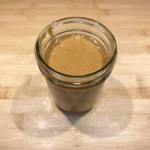
Storage
Our recipe creates an easily spreadable peanut butter. The oil (fat) is drawn out of the nuts into a suspension to make it spreadable, which makes it a bit unstable. Depending on your kitchen, at room temperature, it may be too thin for you, and due to the instability, it may allow the oil to separate. We recommend storing it in the fridge after making it to allow it to thicken and solidify. This may take up to 12 hours. We would rather keep it in the refrigerator than add any shelf stabilizer to it.
Smooth Peanut Butter
Equipment
- 1 Food Processor
- 1 Spatula
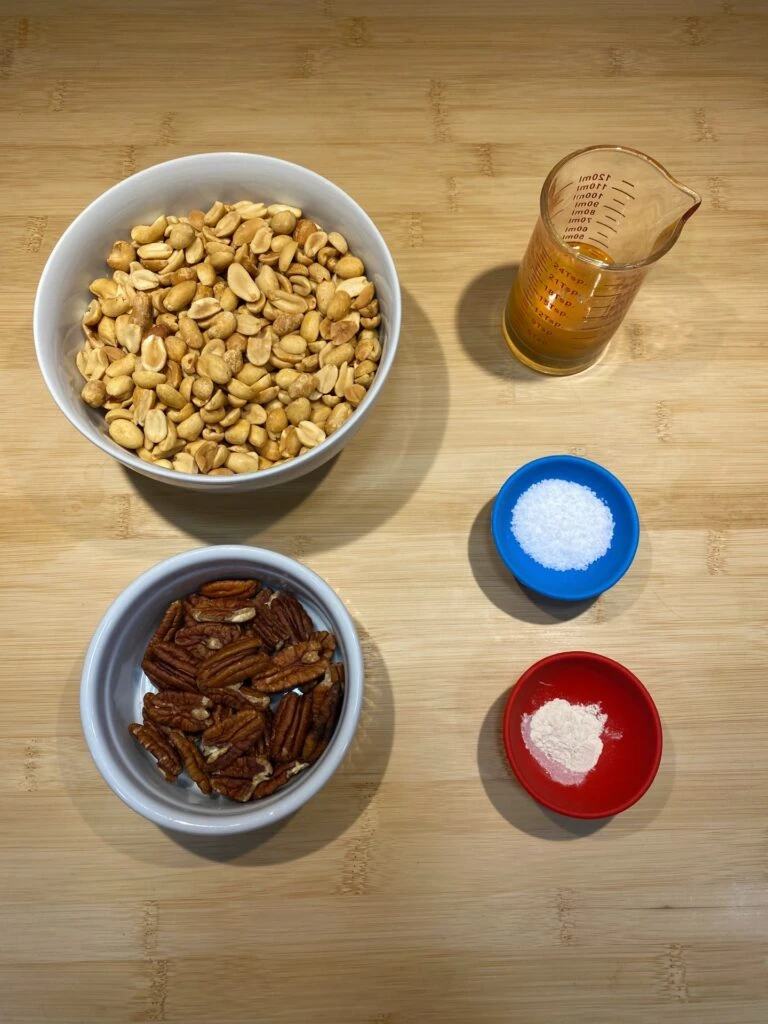
Ingredients
- 12 oz Roasted Peanuts
- 2 oz Roasted Pecans You can use all peanuts but this will create a different depth of flavor.
- 2 tsp Kosher Salt Use more or less to your liking.
- 1 tsp Peanut Oil You may need more based on the oil content of your nuts.
- 3 tbsp Honey Use more or less to your liking.
- 1/2 tsp Guar Gum Optional
Instructions
- Gather all ingredients before you start.
- Place all dry ingredients in a Food Processor
- Process for 1 minute, let rest for 1 minute. We are using this to process / rest interval to control how we raise the temperature.
- Process for 1 minute as you drizzle in the oil and honey mix, then rest for 1 minute.
- Sample flavor and adjust salt and honey to taste.
- Continue to process for 1 minute / rest 1 minute 8-10 more times.
- The temperature should slowly come up to 120-130 Fahrenheit.
- At this point, you should have a major consistency change as the fats liquify. If not, continue to pulse/rest a few more times until you see it seperate.
- Add oil to adjust the consistency to liking.
- Place in jar and set in fridge to firm up. It may take up to 12 hours to fully solidify.
Wrapping Up
This post provides the basics for making a simple homemade creamy peanut or nut recipe. You can experiment with nuts, sweeteners, and consistency to tailor the recipe to your liking. For example, walnuts and maple syrup create a great nut butter with a different flavor profile to spread on apple slices in the fall.